

iMAX B6 killer – ToolkitRC M6, the newest contender for a budget charger with lot of additional features
Overview
When it comes to cheap chargers for a long time the iMAX B6 was the charger to go for all RC enthusiasts getting into the hobby. Well now it has a competition and the ToolkitRC M6 is here to replace it. Both of them retail for around $23 but the ToolkitRC M6 has much more to offer since it is not just a charger, it is more like the brand names says Toolkit for RC enthusiasts.
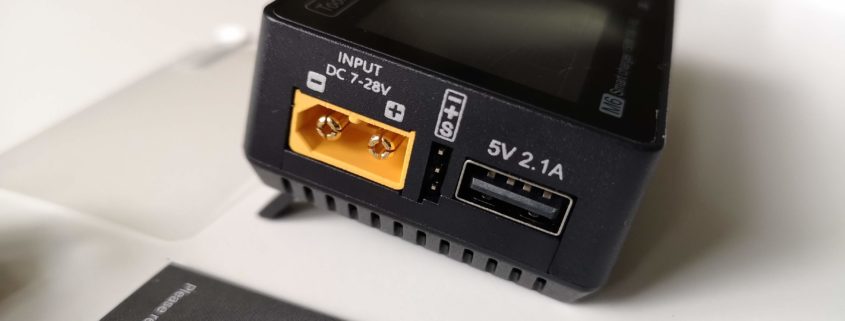
The ToolkitRC M6 is powered through a male XT60 input connector that could be found on the left side of the charger along with a USB connector and servo connector.
The USB port can be used for powering and charging USB devices with up to 2.1 Amps and updating the charger firmware.
The servo port is used for testing the PWM, PPM and SBUS in the measuring and output menus.
The ToolkitRC M6 input voltage ranges from 7 to 28 Volts.
On the right side there is an output XT60 connector along with a 6S output balance lead.
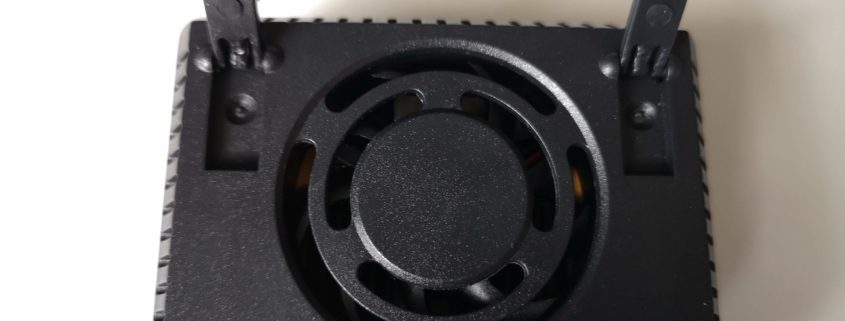
The back of the ToolkitRC M6 is characterised with a circular fan opening and two small collapsable legs used to lift the charger from the ground in order to provide better air circulation for the built in fan.
What’s in the box?
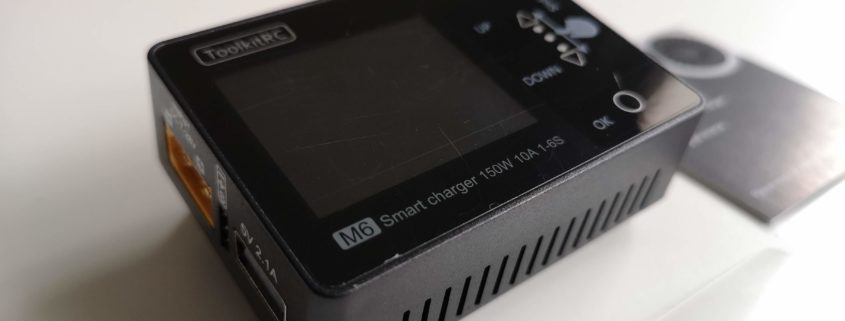
The ToolkitRC M6 is an ultra small device weighing only 80 grams used to charge your batteries at home or in the field with declared charging power of 150 Watts or 10 Amps.
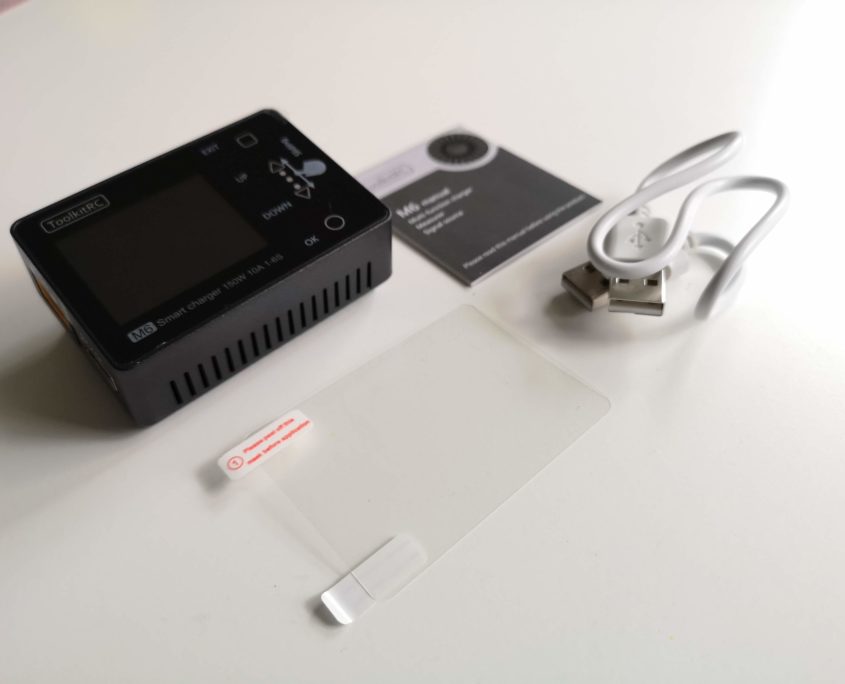
It comes neatly packed in a small box that contains the charger, user manual and USB to USB cable that is used to update the firmware on the charger and a screen protector.
The interface
The screen is not touch sensitive and the charger is operated by using the capacitive buttons on the top right side of the charger.
The main menu displays four options: charger, measurer, output and settings. The navigation through the menu is done by using the up and down buttons on the right side of the menu.

Charging
The ToolkitRC M6 offers plenty of battery types. You will be able to charge can charge LiPo, LiFe, Lilon, LiHv from 1 to 6S; NiMH and NiCd from 1 to 16S and Pb batteries from 1 to 12S.
One neat feature is that you could define and save up to three different charging profiles for later use. This comes very handy since most of the time we need to charge several types of batteries 4S, 6S and maybe 3S for your micros.
Another interesting feature is that you will be able to set the charging end voltage, which for LiPo batteries could vary from 4.15 to 4.25 Volts.
The number of cells is either discovered automatically by plugging in the balance lead into the balance charging port or by setting it manually.
The charge current could be set from 0.1 – 10 Amps.
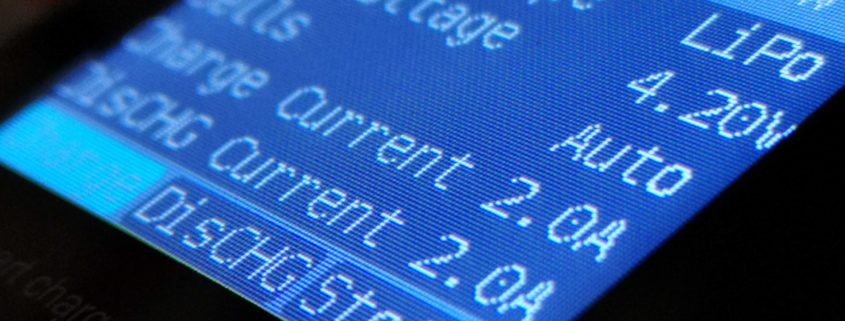
Since the charging menu is used also for discharging and storage, you are able to set the discharge current up to 2 Amps.
Please note that the maximum discharge is 2 Amps unless you do a recycle charge in which case you will be discharging your battery into the battery that provides the power instead of dissipating it as heat.
After starting a charge/discharge cycle the display switches to one that features the input voltage, time, internal temperature, battery voltage and current, individual cell voltages charge percentage and similar charging related info.
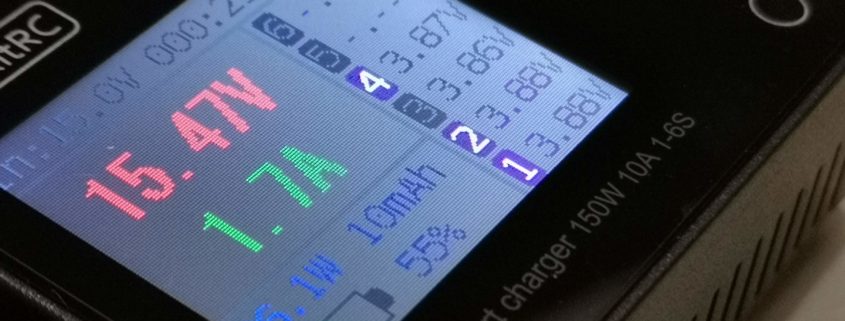
Similar to other chargers, by pressing the up or down buttons the individual cell voltage is replaced by measurement of the cell internal resistance which in fact displays the remaining battery life. Usually a new pack reads around 5 mΩ per cell and this number tends to get bigger as the number of charge cycles rises.
Measuring
You can measure your battery voltage, cell voltage and internal resistance. There is also an option to balance the battery cells when the measurement is set to the voltage option.
Also you can measure PWM, PPM and SBUS for debugging purposes. This is done by connecting the receiver to the servo port found on the left side of the charger.
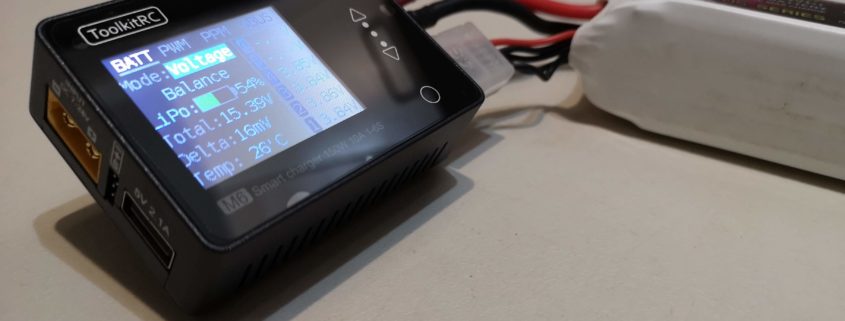
Please note that there is an option to power the charger by connecting a battery on the output XT60 connector. This feature is used in order to do a quick measurement of the battery voltage and you could also check the individual cell voltages by connecting the balance lead next to the output XT60 connector on the right side of the ToolkitRC M6 charger. What this means is that you could use this charger in the field to do a quick battery check.
Output

This menu enables you to output PWM, PPM and SBUS signal for testing purposes and it can also convert the charger to a power supply by using the PWR option.
You will be able to set the power supply voltage and current. The voltage range is from 1 to 28 Volts and the current varies depending on the voltage, since the maximum output power is 150 Watts.
This signal output generator could be handy to see if a motor/esc or servo is working.
Settings
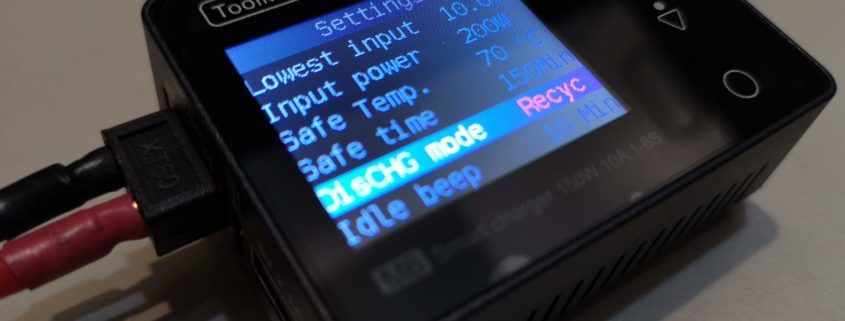
From this menu you will be able to set the following features:
- Lowest input voltage, useful when you don’t want to over discharge your main battery used to power the ToolkitRC M6 charger
- Input power setting used for limiting the input power or how much current you are drawing from the input battery
- Safe internal temperature used to power off the charger if it exceeds certain set value,
- Safe timer which will stop the charging process after a certain time limit
- Discharge mode type, which can be set to internal which uses the internal resistors in order to discharge the connected battery or recycle that is used to power that is drawn from the discharged battery is returned to the input battery that is used to power the charger
- Idle beep
- SBUS width value
- Backlight intensity
- Buzzer volume
- Interface colors (dark or white)
- Language
- Restore default settings
Conclusion
In the past few years I have been asked many times to suggest a charger for a beginner pilots that are on budget. Each time I would think of the iMAX B6 wich isn’t perfect but it was doing the job so far. After reviewing the ToolkitRC M6, I must admit that I would gladly have it in my backpack because of the form factor, price and the functionalities that it offers.
For $23 I think that this is a must have piece of equipment for every pilot, both novice and experienced ones.
The ToolkitRC M6 was kindly provided for a review by BangGood.
Unfortunately at this moment there are no discount coupon code available but I will add it as soon as I have it.


Leave a Reply
Want to join the discussion?Feel free to contribute!